Setup a simple blog with Ghost, Docker, Traefik on a Raspberry Pi
As an objective of 2021, i decided to start my own blog to share my knowledge to the world. So the first step you may say is to create a blog, there are numerous blogging tools out there such as Wordpress, Medium, Hack, Dev.to and Ghost. I chose Ghost https://ghost.org/ because it is an opensource project, built on top a modern Node.js technology stack, feature-rich and focuses on performance.
I've already had a Raspberry Pi 4 https://www.raspberrypi.com/products/raspberry-pi-4-model-b to host other pet projects, so I choose to host this one as well. 'Cause why don't we ? How hard could it be? ?

Install Docker and Docker-Compose
In this tutorial we are going to use Docker and Docker Compose to install Ghost, if you haven't installed docker on your Raspberry Pi, you can try these steps:
- Verify that your system runs the latest version.
sudo apt-get update && sudo apt-get upgrade - Docker prives a handy install script, all you need is to run it.
curl -sSL https://get.docker.com | sh - Add your current user to the Docker Group, by default only root users can run dockers
sudo usermod -aG docker ${USER} - To install docker compose, we need to have python3 and pip3 installed.
sudo apt-get install libffi-dev libssl-dev
sudo apt install python3-dev
sudo apt-get install -y python3 python3-pip
- Then we can proceed to install docker compose
sudo pip3 install docker-compose
So we have Docker and Docker-Compose installed, next step is to deploy our Ghost instance.
Install Ghost
- Create a folder for your blog.
mkdir ghost-blog - Inside the folder, create a
docker-compose.yml
nano ghost-blog/compose-compose.yml - I took the example file in Ghost official documentation and modified some details for Raspberry.
version: '3.1'

services:
  ghost:
    image: ghost:4
    restart: always
    ports:
      - 2368:2368
    environment:
      # see https://ghost.org/docs/config/#configuration-options
      database__client: mysql
      database__connection__host: db
      database__connection__user: root
      database__connection__password: root
      database__connection__database: ghost
      # this url value is just an example, and is likely wrong for your environment!
      url: http://localhost:2368
      # contrary to the default mentioned in the linked documentation, this image defaults to NODE_ENV=production (so development mode needs to be explicitly specified if desired)
      #NODE_ENV: development
  db:
    image: hypriot/rpi-mysql
    restart: always
    environment:
      MYSQL_ROOT_PASSWORD: root
- Then, I use
hypriot/rpi-mysqlan Docker image of Mysql built for Raspberrypi, pay attention to the environment variableurl: http://localhost:2368, that's the url that we are going to use in local to test our setup.
Let's spin up our docker container !
docker-compose up -d

After docker have done its magic, we can now access our blog at http://localhost:2386
Now we have our blog setup, but I want my blog to be accessible from the internet so others can read my posts too !
But how?...Let's see !
Router configuration
We need to expose the Rasberrypi 80 and 443 port, so i logged in my router and forward those 2 ports to my Rasberrypi.

Hurry !!!
Our rasberry is connected to the internet, we are going to need a reverse proxy for our blog.
Traefik

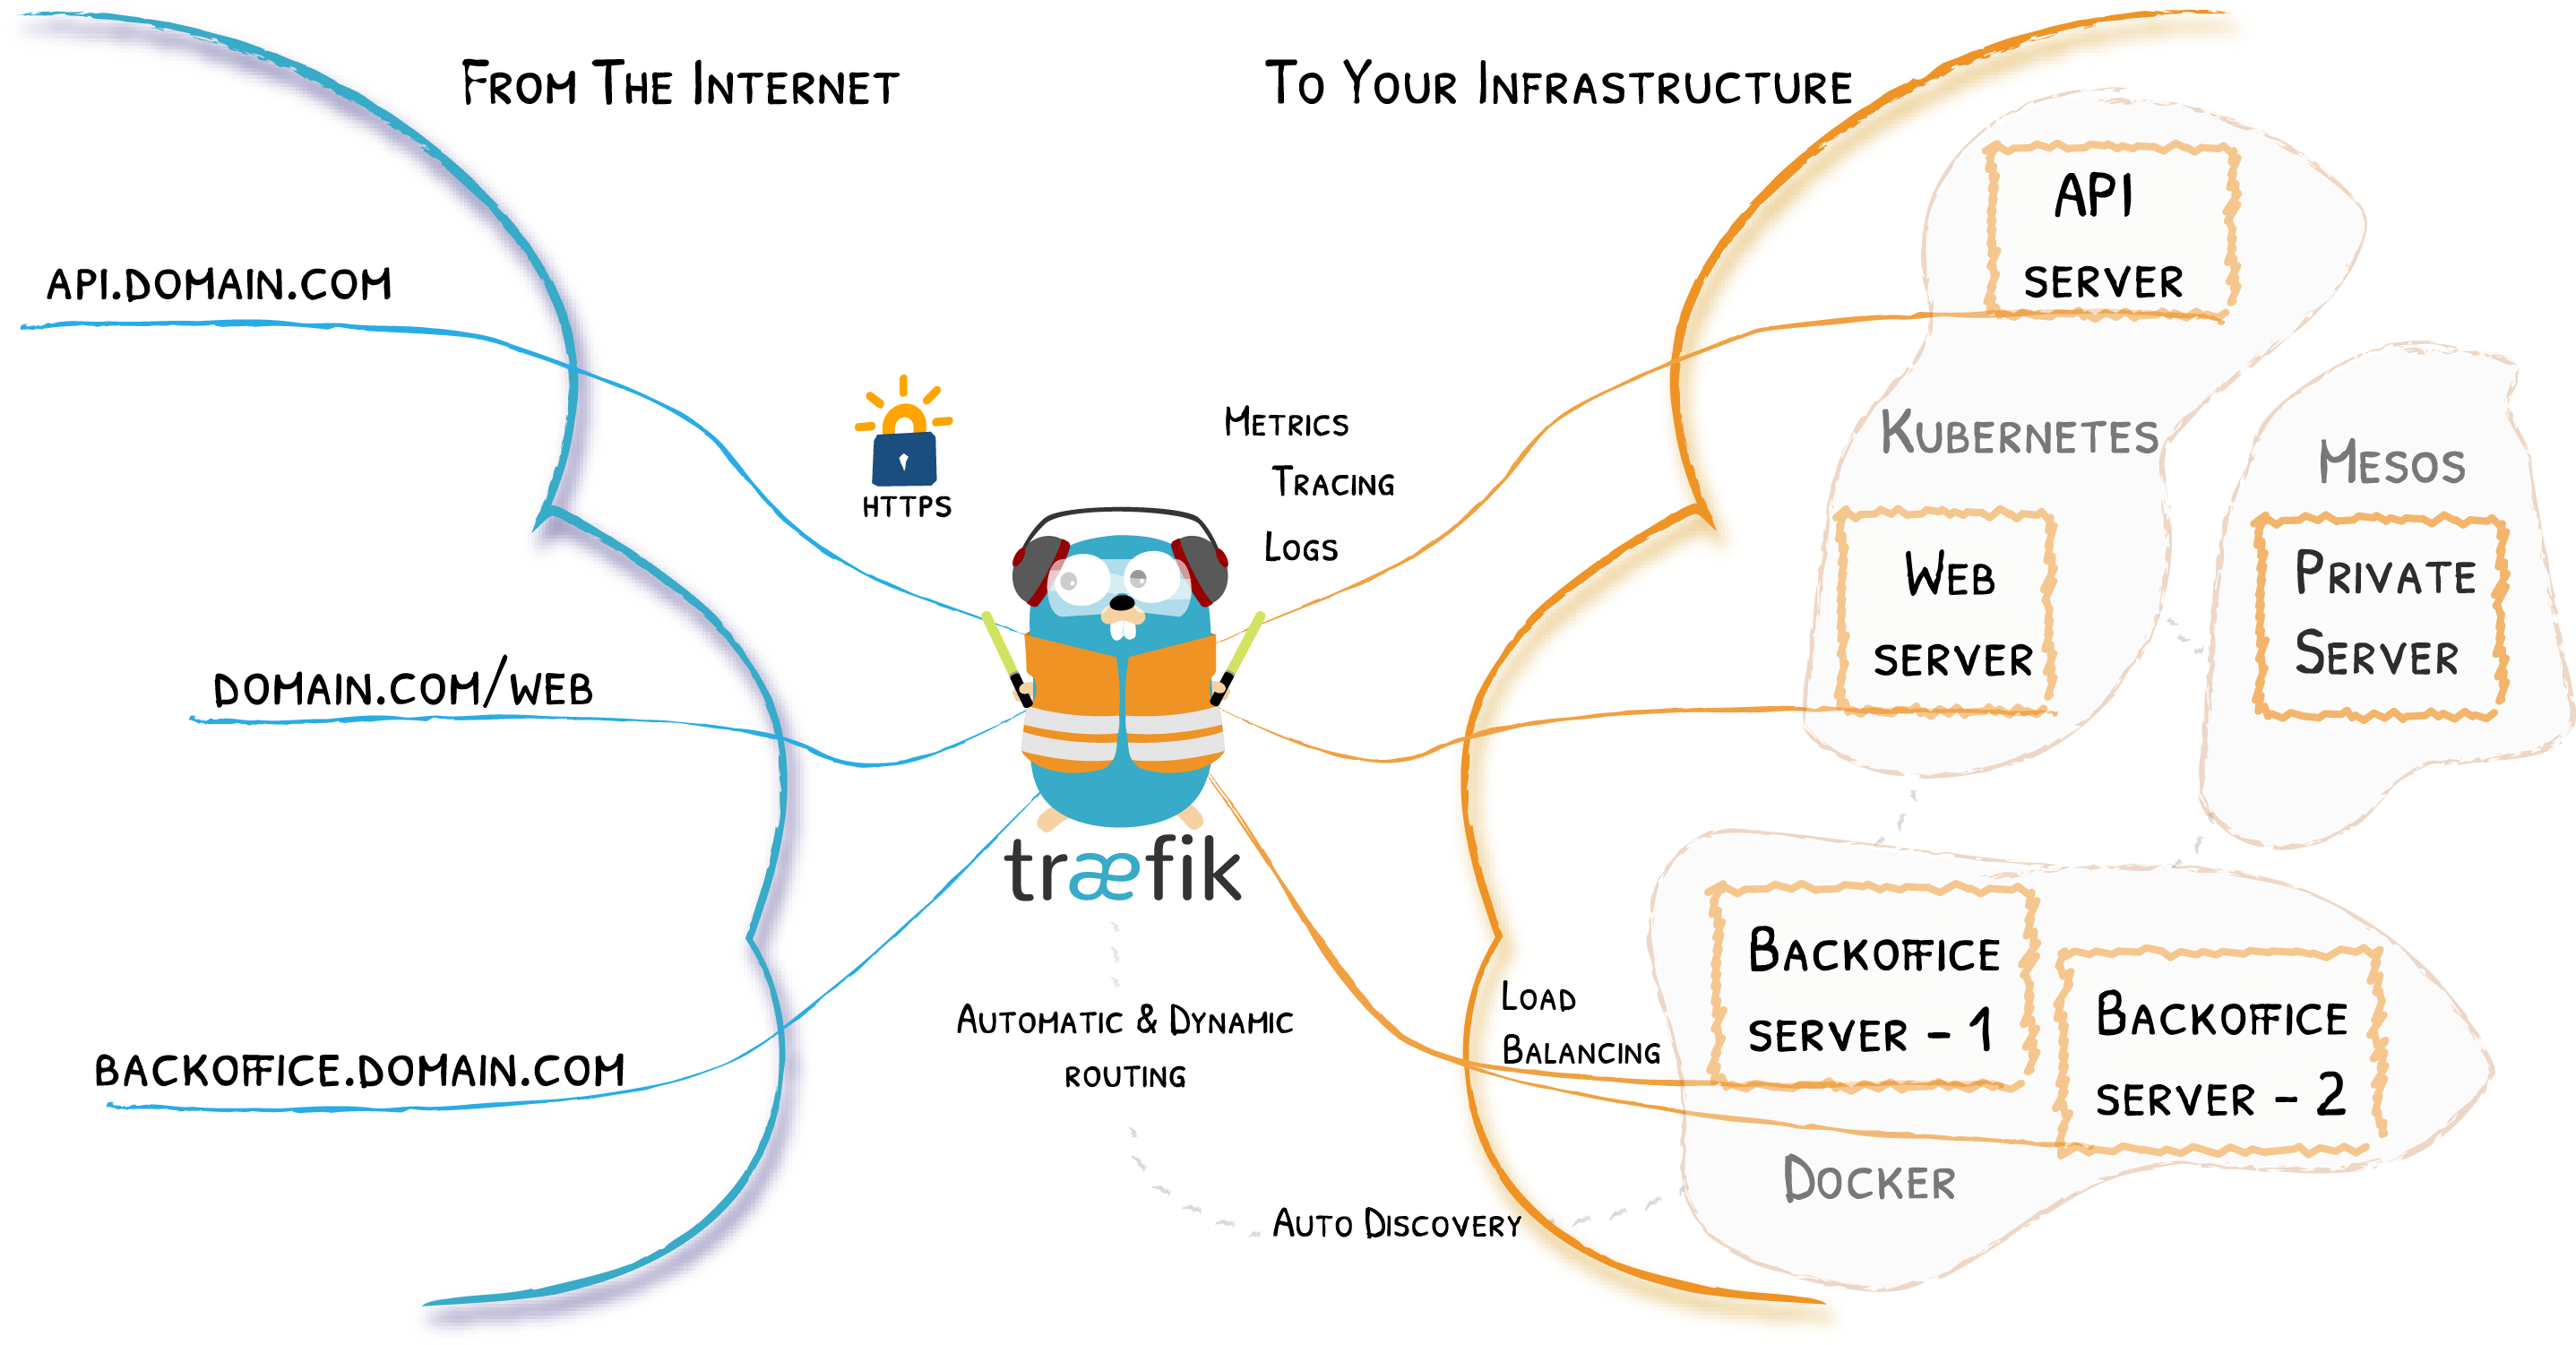
Traefik is an open-source Edge Router that makes publishing your services a fun and easy experience.
Before using Traefik, I was doing my proxy configs with nginx, so with each service I will create a new config. Then, config ssl with letsencrypt.
With traefik everything is much easier and automatic.

To install Traefik, we will use Docker too (because why not, right ? ?). Firstly, let's create a folder for traefik.
mkdir traefikThen, Create a docker-compose.yml file.
nano traefik/docker-compose.ymlThe docker-compose.yml content.
version: '3'

services:
  reverse-proxy:
    # The official v2 Traefik docker image
    image: traefik:v2.4
    # Enables the web UI and tells Traefik to listen to docker
    command:
      - "--api.dashboard=true"
      - "--providers.docker"
      - "--providers.docker.exposedByDefault=false"
      - "--entrypoints.web.address=:80"
      - "--entrypoints.websecure.address=:443"
      - "--certificatesresolvers.blogchallenge.acme.httpchallenge=true"
      - "--certificatesresolvers.blogchallenge.acme.httpchallenge.entrypoint=web"
      - "--certificatesresolvers.blogchallenge.acme.email=contact@awesomeblog.com"
      - "--certificatesresolvers.blogchallenge.acme.storage=/letsencrypt/acme.json"
      # Uncomment when debug
      #- "--certificatesresolvers.deevotechchallenge.acme.caserver=https://acme-staging-v02.api.letsencrypt.org/directory"
      #- "--log.level=DEBUG"
    labels:
      - "traefik.enable=true"
      - "traefik.http.routers.dashboard.rule=Host(`traefik.yourdomain.com`)"
      - "traefik.http.services.dashboard.loadbalancer.server.port=8080"
      - "traefik.http.routers.dashboard.service=api@internal"
      - "traefik.http.routers.dashboard.middlewares=traefik-auth"
      - "traefik.http.middlewares.traefik-auth.ipwhitelist.sourcerange=127.0.0.1/32, your-external-ip-here"
    ports:
      # The HTTP port
      - "80:80"
      - "443:443"
    volumes:
      # So that Traefik can listen to the Docker events
      - /var/run/docker.sock:/var/run/docker.sock
- ./letsencrypt:/letsencryptIn this config, only the ips defined in traefik.http.middlewares.traefik-auth.ipwhitelist.sourcerange=127.0.0.1/32, your-external-ip-here can access your Traefik Dashboard at http://traefik.yourdomain.com
We have to also confige a certificate resolver using letsencrypt with the email [email protected] , so traefik will manage our https config automatically.
Finally, before starting traefik docker, remember to check your domain setting to point traefik.yourmain.com to your home ip.
Let's start traefik!
docker-compose up -dYou should now be able to access the dashboard at http://traefik.yourdomain.com

So..., we got our proxy working?, our Ghost instance working as intended, the last step is to make Ghost goes through Traefik and then the world will see what we can do ??.
Add labels to our Ghost docker-compose.yml
version: '3.1'

services:
  ghost:
    image: ghost:4
    restart: always
    ports:
      - 2368:2368
    environment:
      # see https://ghost.org/docs/config/#configuration-options
      database__client: mysql
      database__connection__host: db
      database__connection__user: root
      database__connection__password: root
      database__connection__database: ghost
      # this url value is just an example, and is likely wrong for your environment!
      url: https://blog.mydomain.com
      # contrary to the default mentioned in the linked documentation, this image defaults to NODE_ENV=production (so development mode needs to be explicitly specified if desired)
      #NODE_ENV: development
    labels:
      - traefik.enable=true
      - traefik.http.middlewares.blog-redirect.redirectscheme.scheme=https
      - traefik.http.routers.blog.middlewares=blog-redirect
      - traefik.http.routers.blog.entrypoints=web
      - traefik.http.routers.blog.rule=Host(`blog.yourdomain.com`)
      - traefik.http.routers.blog.service=blog
      - traefik.http.services.blog.loadbalancer.server.port=2368
      - traefik.http.routers.blog-secure.entrypoints=websecure
      - traefik.http.routers.blog-secure.rule=Host(`blog.yourdomain.com`)
      - traefik.http.routers.blog-secure.service=blog-secure
      - traefik.http.services.blog-secure.loadbalancer.server.port=2368
      - traefik.http.routers.blog-secure.tls.certresolver=blogchallenge
      - traefik.http.routers.blog-secure.tls=true
  db:
    image: hypriot/rpi-mysql
    restart: always
    environment:
      MYSQL_ROOT_PASSWORD: root
Don't forget to update your domain DNS config to point blog.yourdomain.com to your home IP and the url in docker-compose.yml environment variable
In this config we enabled traefik for our blog service. Add a host domain and indicate the access port.
Update our config with docker-compose up -d
Your blog should be now running at https://blog.yourdomain.com, and the proxy config should be found in treafik dashboard

Voilà ! Hope this help.
Thank you for reading through it, see you in the next one! ?